Bitcoin feels like a foreign language at first. You hear about people getting rich, others getting scammed, and a whole lot of jargon that makes no sense. But here’s the thing: buying your first bitcoin in Canada is actually simpler than you think. You need three things: a regulated exchange, a way to pay, and a place to store your coins. This guide walks you through every step, from picking the right platform to understanding your tax obligations with the CRA. By the end, you’ll have made your first purchase with confidence, not guesswork.
Most beginners make the same mistakes. They buy on sketchy platforms, leave their bitcoin on the exchange, or forget that the CRA treats crypto like a commodity, not currency. That last one can cost you big at tax time. This guide is different because it focuses on the Canadian landscape specifically. We cover regulated platforms, e-Transfer funding, and the exact records you need to keep. We also point out the red flags that catch new traders off guard. If you’re also curious about other coins, check out our guide to buying Ethereum or how to buy Solana after you master bitcoin.
What You’ll Need
- Government-issued ID
- Canadian bank account with e-Transfer
- Smartphone or computer
- Personal bitcoin wallet (hot or cold)
How Do You Buy Bitcoin in Canada?
- Choose a regulated Canadian exchange.
Your first decision sets the tone for everything else. In Canada, you want a platform registered with FINTRAC and ideally a member of the Investment Industry Regulatory Organization of Canada (IIROC). Regulated exchanges like Newton, Wealthsimple Crypto, and Kraken (via its Canadian entity) follow anti-money laundering rules and keep your funds in segregated accounts. That means if the exchange goes under, your money is protected up to certain limits. Unregulated platforms might offer lower fees, but they also come with the risk of vanishing overnight. The CRA has flagged many offshore exchanges for non-compliance, and using them can complicate your taxes. Stick with the regulated names. They might charge slightly more, but the peace of mind is worth it. Before you sign up, compare at least two platforms. Look at their fee schedules, minimum deposits, and whether they support e-Transfer. That payment method is the cheapest and fastest way to fund your account in Canada. Once you pick your exchange, you’re ready for the next step: identity verification.
- Verify your identity with government-issued ID.
Canadian exchanges require Know Your Customer (KYC) verification. That’s not optional. You’ll need to upload a photo of your driver’s license, passport, or provincial ID, plus a selfie for facial recognition. The process usually takes 10 to 30 minutes, though some platforms like Wealthsimple verify you almost instantly if you already have an account with them. Why does this matter? It’s the law. FINTRAC requires exchanges to confirm who you are before you can trade. It also protects you, because it makes it harder for scammers to open accounts in your name. A common mistake here is rushing through the photo upload. Make sure the image is clear, well-lit, and not cropped weirdly. If verification fails, you’ll have to redo it, which just slows you down. Once you’re verified, you’ll get access to funding options. That’s your cue to move to the next step. Also, keep a copy of your verification documents. You’ll need them if the CRA ever asks about your trading activity.

- Fund your account with e-Transfer or wire transfer.
Now you need cash in your exchange account. The cheapest way in Canada is Interac e-Transfer. Most exchanges offer this, and fees are usually zero or under 1%. Bank wires work too, but they cost anywhere from $10 to $30 per transfer, and they take 1 to 3 business days. Credit cards are the worst option. They carry cash advance fees of around 5%, plus interest starts immediately. That’s a 5% premium on your bitcoin purchase before you even own it. To fund via e-Transfer, log into your exchange, go to the deposit section, and follow the instructions. You’ll get a unique email or phone number to send money to. The funds usually land within 5 minutes. A common mistake is sending money from a joint account or a business account. Some exchanges flag those and freeze the deposit until you provide extra paperwork. Use your personal chequing account to keep things smooth. Once your cash arrives, you’re ready to place your first order. That’s the exciting part.
- Place your first bitcoin buy order.
You’ve got funds. Now it’s time to buy. On most Canadian exchanges, you’ll see two order types: market and limit. A market order buys bitcoin instantly at the current price. It’s simple and perfect for beginners. A limit order lets you set a price, like $90,000, and the order only fills if the market hits that level. That’s better for saving money, but it requires patience. For your first buy, use a market order. It’s one click and done. You’ll pay a small spread, typically 0.5% to 1.5%, which is the exchange’s cut. Let’s say you deposit $1,000. After a 1% fee, you get about $990 worth of bitcoin. That’s normal. Don’t panic about the fee. It’s the cost of convenience and security. A common mistake is trying to time the market perfectly. You won’t. Nobody does. Just buy a fixed dollar amount, like $100 or $500, and move on. This is called dollar-cost averaging, and it’s the smartest strategy for beginners. After your order fills, you’ll see bitcoin in your exchange balance. But that’s not the final stop. You need to move it to your own wallet.
- Set up a personal bitcoin wallet.
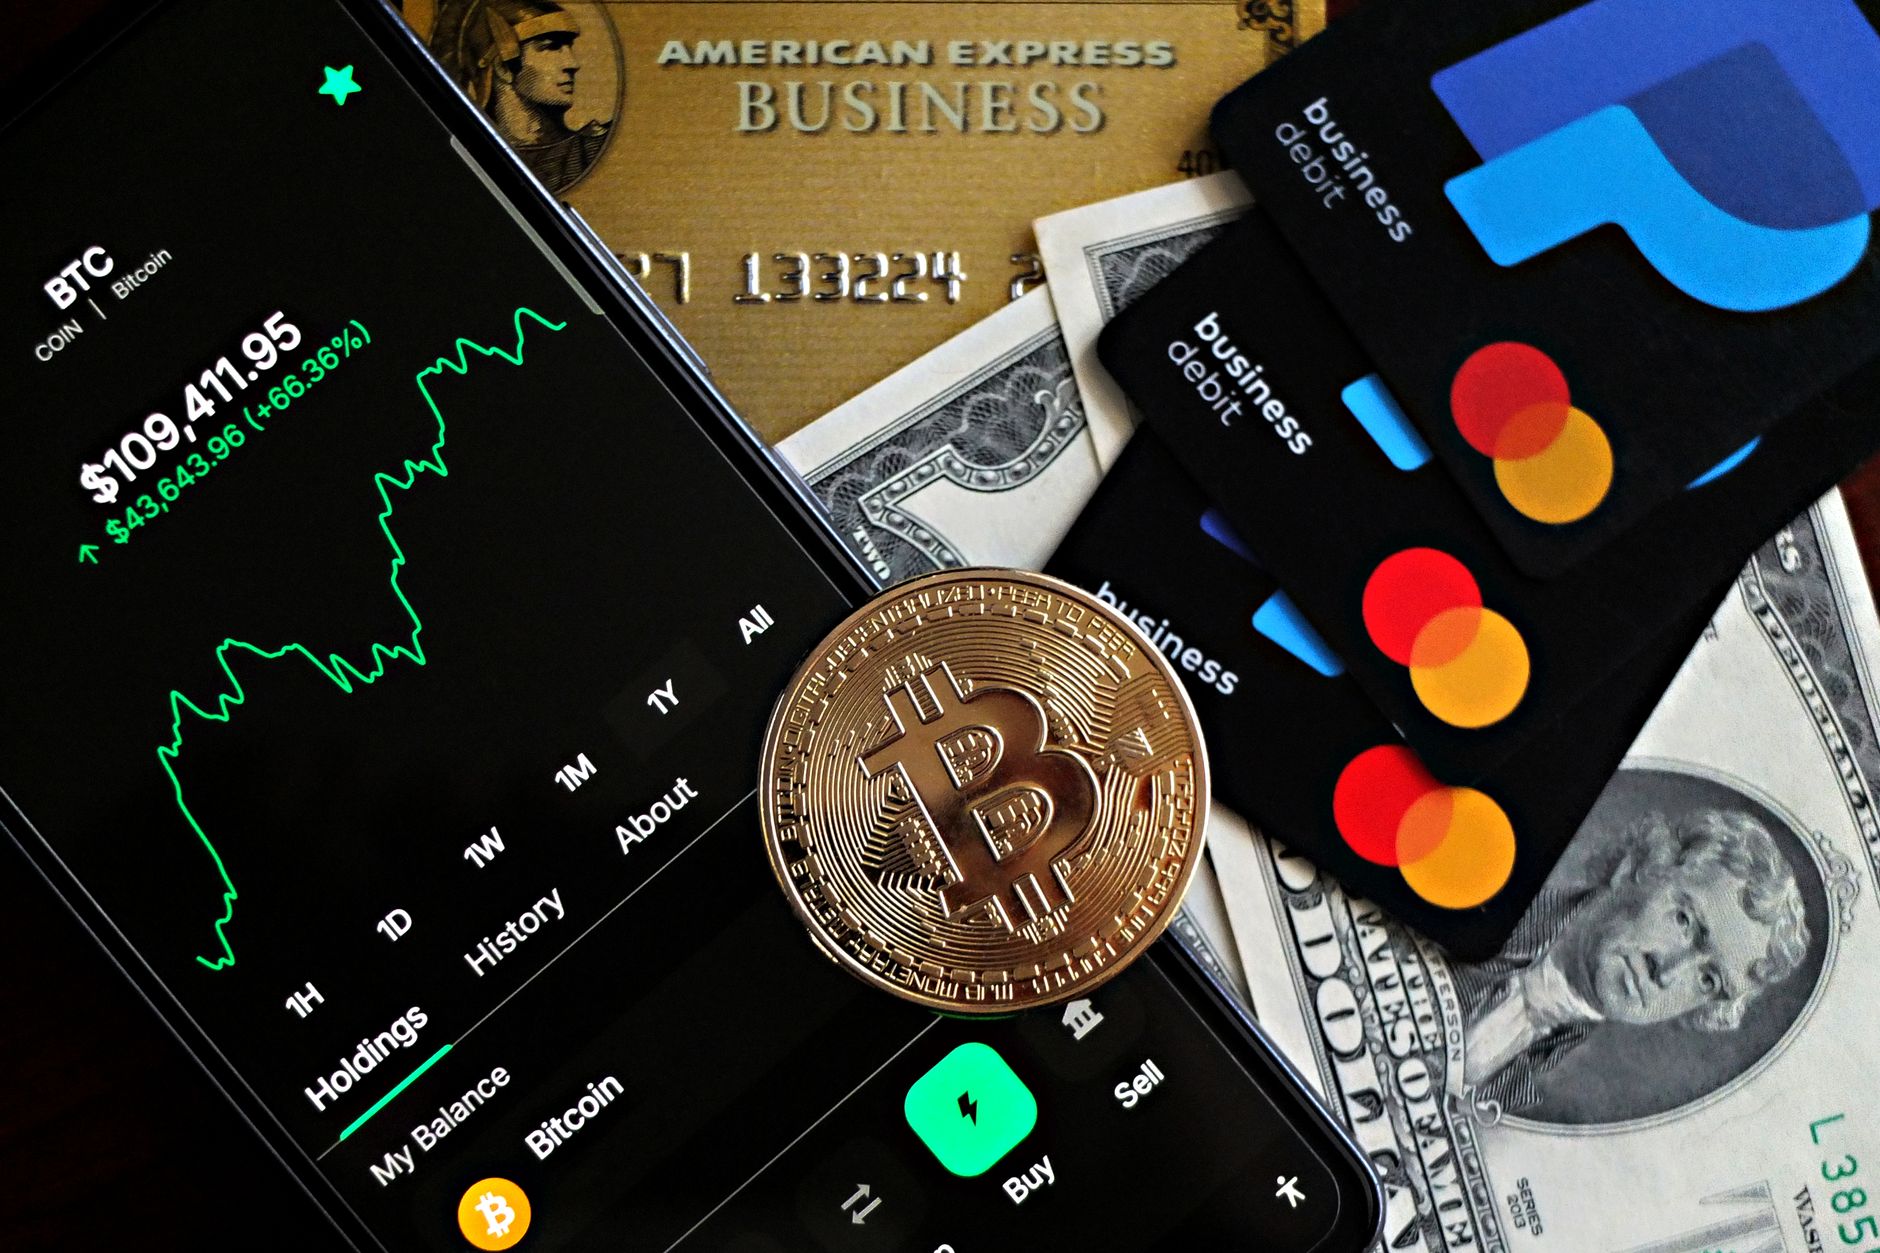
Leaving your bitcoin on the exchange is like leaving cash on a park bench. Exchanges get hacked. They freeze withdrawals. They sometimes go bankrupt. You don’t control the private keys, so you don’t truly own the bitcoin. That’s why you need a personal wallet. For beginners, a hot wallet like Exodus or Trust Wallet is a good start. They’re free apps on your phone or desktop. But if you’re buying more than $1,000 worth, consider a cold wallet like a Ledger or Trezor. Those are physical devices that store your keys offline. They cost $80 to $200, and they’re the gold standard for security. Check out our comparison of the best crypto wallets to find the right fit. When you set up a wallet, you’ll get a 12 or 24-word seed phrase. Write it down on paper. Store it somewhere safe, like a safety deposit box. Never type it into any website or app. That phrase is the only way to recover your funds if you lose your device. Once your wallet is ready, you’ll get a bitcoin address. It looks like a long string of random letters and numbers. That’s where you’ll send your bitcoin next.
- Transfer your bitcoin from the exchange to your wallet.
This is the step most beginners skip, and it’s a big mistake. In your exchange account, find the withdraw or send option. Enter your personal wallet address, choose the bitcoin network (not Bitcoin Cash or another fork), and enter the amount. Double-check the address character by character. A single typo can send your funds into the void forever. The network fee will be shown before you confirm. It varies based on congestion, but expect $2 to $10 for a standard transfer. Some exchanges let you set a custom fee. Lower fees mean slower confirmations, sometimes hours. For your first transfer, pay the standard fee. It’s not worth waiting overnight. Once you hit confirm, the exchange will send a verification email or 2FA prompt. Approve it. Then the transfer begins. You’ll see it as pending on the blockchain. After 10 to 60 minutes, your bitcoin lands in your wallet. That feeling of control is worth the effort. Now your bitcoin is truly yours. No exchange can freeze it, and no hacker can steal it from a centralized server. If you want to learn more about protecting your assets, read our crypto security guide next.
- Track your purchases for CRA tax season.
Here’s the part nobody likes, but everybody needs. The Canada Revenue Agency treats bitcoin as a commodity, not currency. That means every time you sell, trade, or spend bitcoin, it’s a taxable event. You pay capital gains tax on the profit, and you can claim capital losses on the downside. The CRA has a dedicated guide on cryptocurrency that explains the rules in detail. The key is record keeping. For every buy, note the date, amount in CAD, exchange rate, and the fee you paid. Most exchanges let you download a transaction history CSV. Do that after every trade. You don’t need to report anything until you file your taxes, but if you don’t have records, you’ll be guessing. And the CRA can audit you for up to six years. Tools like Koinly or TurboTax for crypto can automate this for you. They cost around $50 to $100 per year, but they save you hours of headache. The first $0 to $250,000 of capital gains is taxed at 50%, meaning you only include half of your gains in your taxable income. Still, that’s a real bill. Plan for it.
- Learn to spot scams and protect your investment.
The crypto world is full of traps, and beginners are the prime targets. Phishing emails pretending to be from your exchange, fake customer support on Twitter, and pump-and-dump groups on Telegram. The rule is simple: if someone promises guaranteed returns, it’s a scam. No legitimate service does that. Also, never share your seed phrase with anyone, not even someone claiming to be from your wallet provider. Legitimate companies will never ask for it. Another common scam is the ‘bitcoin giveaway’ where you send a small amount to receive a larger one. That’s pure theft. Before you engage with any service, check our guide on spotting crypto scams to arm yourself. And remember, if something feels off, it probably is. Trust your gut. Slow down. Verify the website URL, check for HTTPS, and enable two-factor authentication on every account. That single step blocks 99% of account takeovers. Your future self will thank you.
Red Flags & Warnings
- 🚨 Never send bitcoin to a ‘verification’ address. Scammers often ask you to send a small amount to ‘verify’ your wallet. Legitimate services never do this.
- 🚨 Beware of fake exchange apps. Scammers clone popular exchange apps and list them on unofficial app stores. Always download from the official App Store or Google Play, and check the developer name.
- 🚨 Don’t fall for ‘double your bitcoin’ schemes. These are always Ponzi schemes. No one can guarantee returns. If it sounds too good to be true, it is.
- 🚨 Watch out for phishing emails that look like they’re from your exchange. They’ll ask you to ‘confirm your account’ or ‘update your password.’ Always go directly to the exchange website, never click links in emails.
- 🚨 Avoid buying bitcoin from people on social media or peer-to-peer marketplaces without escrow. You’ll likely get scammed. Stick to regulated exchanges.
Frequently Asked Questions
What is the minimum amount of bitcoin I can buy in Canada?
Most Canadian exchanges let you buy as little as $10 to $25 worth of bitcoin. Some, like Newton, have no minimum at all. Just remember that network fees for transferring to your wallet might exceed the value of tiny purchases, so it’s better to accumulate and transfer in larger amounts.
Do I need to pay taxes on bitcoin in Canada?
Yes. The CRA treats bitcoin as a commodity. You pay capital gains tax on profits when you sell, trade, or spend it. You also need to report your transactions on your tax return. Check the CRA’s cryptocurrency guide for full details.
Is it safe to leave bitcoin on an exchange?
Not really. Exchanges can be hacked, freeze withdrawals, or go bankrupt. If you don’t hold the private keys, you don’t truly own the bitcoin. Move your funds to a personal wallet, especially if you’re holding for the long term.
What's the best way to fund my bitcoin purchase?
Interac e-Transfer is the cheapest and fastest method in Canada. It’s usually free and lands within minutes. Credit cards carry cash advance fees of around 5%, which is a huge premium. Bank wires work but cost $10 to $30 and take days.
How long does a bitcoin transfer take?
A standard bitcoin transfer takes 10 to 60 minutes for the first confirmation. The exact time depends on network congestion and the fee you pay. Higher fees mean faster confirmations. For small amounts, you can use a lower fee and just wait.
What Should You Remember?
- Use a regulated exchange. Stick with FINTRAC-registered platforms like Newton or Wealthsimple to protect your funds and stay compliant.
- Fund with e-Transfer. It’s the cheapest and fastest way to add cash to your exchange account. Avoid credit cards at all costs.
- Move to a personal wallet. Exchange wallets are not your keys. Use a cold wallet for amounts over $1,000.
- Keep detailed records. Track every transaction with dates, amounts, and fees for CRA tax reporting. Use tools like Koinly to automate.
- Beware of scams. Never share your seed phrase, and never send bitcoin to ‘verify’ anything. If it sounds too good, it’s a trap.
Disclaimer: This article is for informational purposes only and does not constitute financial or tax advice.